
Determining the health of a car’s brake rotors is as simple as measuring how thick it is. But, what if you’re missing one vital tool for this task, a micrometer; how do you measure the rotor thickness without one?
Thankfully, if you don’t have a micrometer, there are plenty of effective, reliable, and accurate means by which you can measure your rotor’s thickness. There are 4 great alternatives to substitute a micrometer.
This includes, 1) visually inspecting and feeling the rotor surface, 2) using a Vernier caliper, 3) using a ruler or tape measure for a rough estimation, or 4) comparing the old rotors side-by-side with the new ones.
With that in mind, I’ve put together a quick step-by-step guide on each of these 4 methods, so you too can measure your brake rotor thickness without using a micrometer (click on each one to skip ahead):
- Method #1: Visual Inspection & Analysis
- Method #2: Using a Vernier Caliper
- Method #3: Ruler or Tape Measure
- Method #4: Compare with New Rotors
Method #1: Visual Inspection and Feeling the Rotor Surface
- Pros: Note, that this method involves visually inspecting your brake rotors and running your fingers along the rotor’s surface to feel for any significant lip at the edges. It’s pretty quick and requires no tools.
- Cons: However, this method is not nearly as precise and could be misleading. A noticeable lip on the brake rotor might indicate wear, but it’s not a reliable method to determine if replacement is necessary.
Step-By-Step Guide:
- Clean the Rotor: Before inspecting, it’s a good idea for you to ensure that the brake rotor surface is free of dirt and debris. To do this, you can use a simple brake cleaner and a clean cloth to wipe the surface.
- Visual Inspection: Now, you can look at the brake rotor surface for any signs of uneven wear, grooves, or deep scratches. These visual cues can easily indicate the brake rotor’s condition and spot for damage.
- Feeling the Surface:
- To begin, start by running your finger gently along the brake rotor surface, moving from the center to the edges.
- Crucially, you need to pay close attention to the edge of the rotor. A noticeable ‘lip’ or ridge at the edge can indicate significant wear.
- While you’re there, make sure you feel both sides of the brake rotor, as wear can be uneven.
- Assessing the Findings:
- If you feel a pronounced lip or ridge on the brake rotor surface, it suggests the rotor has worn down. If so, replacements may be required.
- Remember, this method does not provide exact measurements. But, it could signal when a more thorough inspection is needed. So, do bear that in mind.
Method #2: Using a Vernier Caliper
- Pros: Vernier calipers, though less precise than micrometers (the latter remains the best tool for the job), they can still offer a reasonably accurate measurement of your brake rotor thickness.
- Cons: They might not be as accurate as micrometers, particularly if not used correctly. Therefore, a bit of practice beforehand might be a good idea.
Step-By-Step Guide:
- Select the Right Caliper: First off, make sure that your Vernier caliper is large enough to span the width of the brake rotor.
- Clean the Rotor: As with the visual inspection (as I mentioned earlier in Method #1), start by cleaning the brake rotor surface.
- Caliper Positioning:
- Open the Vernier caliper’s jaws and place them over the brake rotor, ensuring that they are perpendicular to the brake rotor surface.
- Position the Vernier caliper jaws on a flat, unworn part of the brake rotor. Additionally, make sure that you avoid the edges of the brake rotor where wear is most pronounced.
- Taking the Measurement:
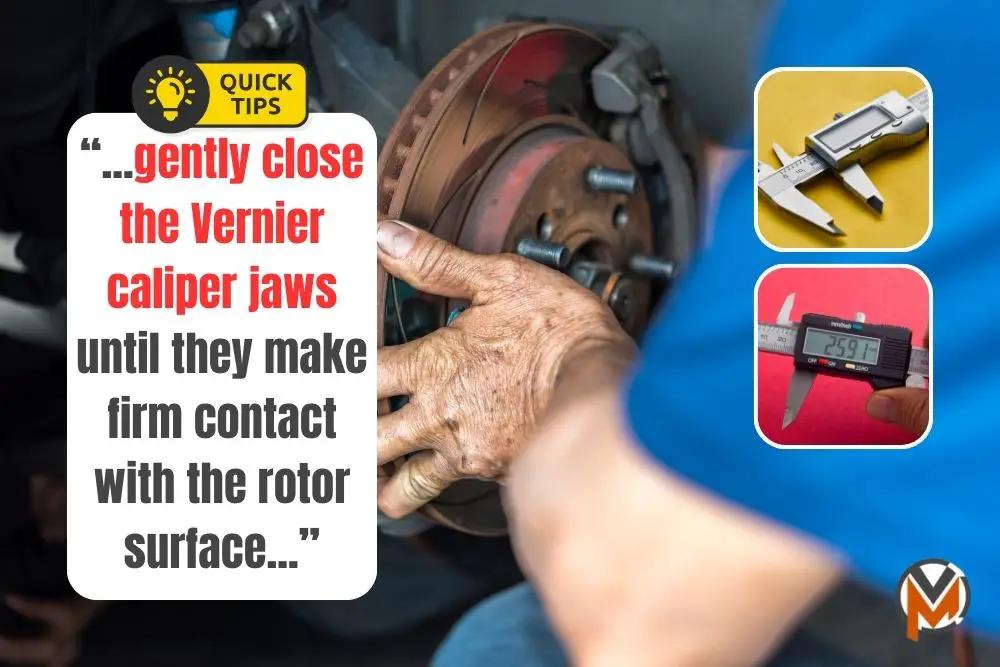
- When measuring the brake rotor surface, gently close the Vernier caliper jaws until they make firm contact with the brake rotor surfaces.
- Once you’ve had a firm grasp on the brake rotors, read the measurement on the Vernier caliper scale. For added accuracy, you can try taking multiple measurements at different points on the rotor.
- Interpreting Results:
- With those measurements jotted down, you can now compare your brake rotor measurements with the manufacturer’s specifications for minimum rotor thickness.
- Another thing to bear in mind, as well… Consistent readings around the rotor indicate even wear, while significant variations suggest uneven wear.
Method #3: Ruler or Tape Measure for Rough Estimation
- Pros: In a pinch, if and when you really need to measure your brake rotors, a ruler or tape measure can give you a rough idea of the rotor thickness.
- Cons: This method is highly inaccurate (even more so compared to Vernier calipers). Therefore, this method should only be used to get a general sense of the rotor’s condition.
Step-By-Step Guide:
- Select a Ruler or Tape Measure: Before you begin, start by choosing a ruler or tape measure, and ensure that you find ones with clear markings for more accurate reading.
- Clean the Rotor: Ensure the rotor surface is clean for a better assessment. Once again, this is similar to the steps I’ve discussed in Method #1.
- Measuring the Thickness:
- To begin the measurement process, place your ruler or tape measure across the width of the brake rotor.
- When it’s in position, try to gauge your car’s brake rotor thickness by aligning the edge of the ruler with the rotor’s edge. This will give you a rough estimate of the thickness.
- Limitations:
- Once again, do understand that this method provides a very rough estimate, and it’s by no means accurate. Therefore, it should not be used for precise measurements.
- Using a ruler or tape measure is more about getting a general idea of your brake rotor’s condition rather than exact numbers.
Method #4: Comparing Them Side-by-Side with New Rotors
- Pros: If you have a new brake rotor available, comparing the old brake rotor’s thickness to the new one can give you an idea of the wear.
- Cons: This method assumes you have a new brake rotor for comparison, and that you’re aware of the original thickness specifications.
Step-By-Step Guide:
- Obtain a New Rotor: Have a new brake rotor of the same model and type as a reference.
- Visual Comparison:
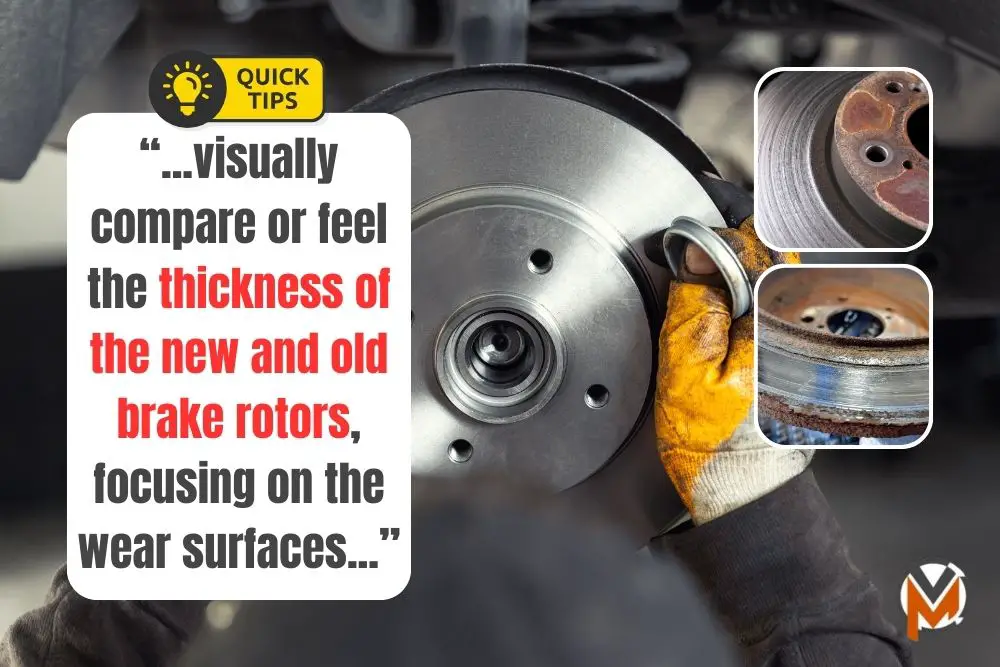
- Now, place the new brake rotor next to the old one to begin comparing between them.
- Next up, you’ll need to visually compare the thickness of both brake rotors, focusing on the wear surfaces.
- Physical Comparison:
- You can also try to feel the difference in thickness by running your fingers over the edges of both rotors. For additional instructions, check Method #1 to find out how you can feel differences in the rotor surface.
- With this in mind, notice the difference in the ‘lip’ or edge between the new and old brake rotor.
- Assessing Wear:
- This technique gives you a relative understanding of how much the old brake rotor has worn down when compared to a new one.
- It’s a more tangible comparison but still lacks the precision of exact measurements. Once again, this isn’t really meant to replace a micrometer, but it does give you a rough idea, somewhat.
These techniques and alternative methods should help you gain a better understanding of your car’s brake rotor’s condition and health, in the event that a micrometer (still the ideal tool) isn’t available.